- What makes a plate photo easier for AI to read
- The best angle, lighting, and framing for food photos
- How to add a size reference without making the photo messy
- What to do with mixed dishes, sauces, and hidden ingredients
- A simple photo checklist before you log the meal
- Common plate-photo mistakes that lead to poor macro estimates
- When photo logging is enough and when you should edit manually
- Frequently asked questions
You plate your lunch, sit down, open your tracking app, and snap a photo. Thirty seconds later the AI returns a macro estimate that looks reasonable enough. You accept it and move on. Two weeks of this, and your numbers feel off. Your protein target looks hit on paper, but your body isn’t responding the way you expected.
The problem usually isn’t the AI. It’s the photo. A blurry shot taken at arm’s length in dim kitchen light gives the model almost nothing to work with. It guesses. Sometimes well, often not.
Learning how to photograph your plate for accurate macro logs is less about photography and more about giving the AI enough visual information to do its job. The technique is simple once you know what actually matters.
What makes a plate photo easier for AI to read
AI food recognition works by matching visual patterns to a database of known dishes and ingredients. The cleaner the image, the more confident the match. When items overlap, shadows cut across the plate, or the frame is too tight, the model has to fill gaps with assumptions.
Full visibility is the starting point
Every item on the plate needs to appear in the frame. If your grilled chicken is half hidden under a pile of roasted vegetables, the model may undercount the protein. A useful heuristic is to treat the photo like a diagram: every ingredient should be identifiable as a distinct region.
Stacked foods are a common culprit. A burger with four layers looks like a single object from above. A bowl where rice sits under everything else is almost invisible. Separate items when you can, even slightly.
Clutter and shadows create ambiguity
A cluttered background pulls the model’s attention toward objects that aren’t food. A dark shadow across one side of the plate can make a 6-ounce chicken breast look like a 3-ounce piece. MacroFactor’s guidance on AI food logging flags uneven lighting as one of the main sources of recognition error.
Keep the background clear. A plain countertop or table surface works better than a busy tablecloth or a crowded desk.
Separation helps the model count items
When foods touch or overlap, the AI often treats them as one item. A salmon fillet resting against a pile of quinoa may log as a single grain dish. Nudge items apart before shooting. Even 1 to 2 centimeters of separation between protein, carbs, and vegetables makes the recognition step more reliable.
| Photo condition | Effect on AI recognition | Difficulty to fix |
|---|---|---|
| Full plate in frame | Allows complete ingredient count | Easy |
| Even lighting, no shadows | Reduces size and color distortion | Easy |
| Foods separated | Lets model identify distinct items | Easy |
| Stacked or layered foods | Hides lower layers, undercounts macros | Moderate |
| Dark or glary background | Distorts portion size estimates | Easy |
| Tight crop, edges cut off | Removes context, misses portions | Easy |
The best angle, lighting, and framing for food photos
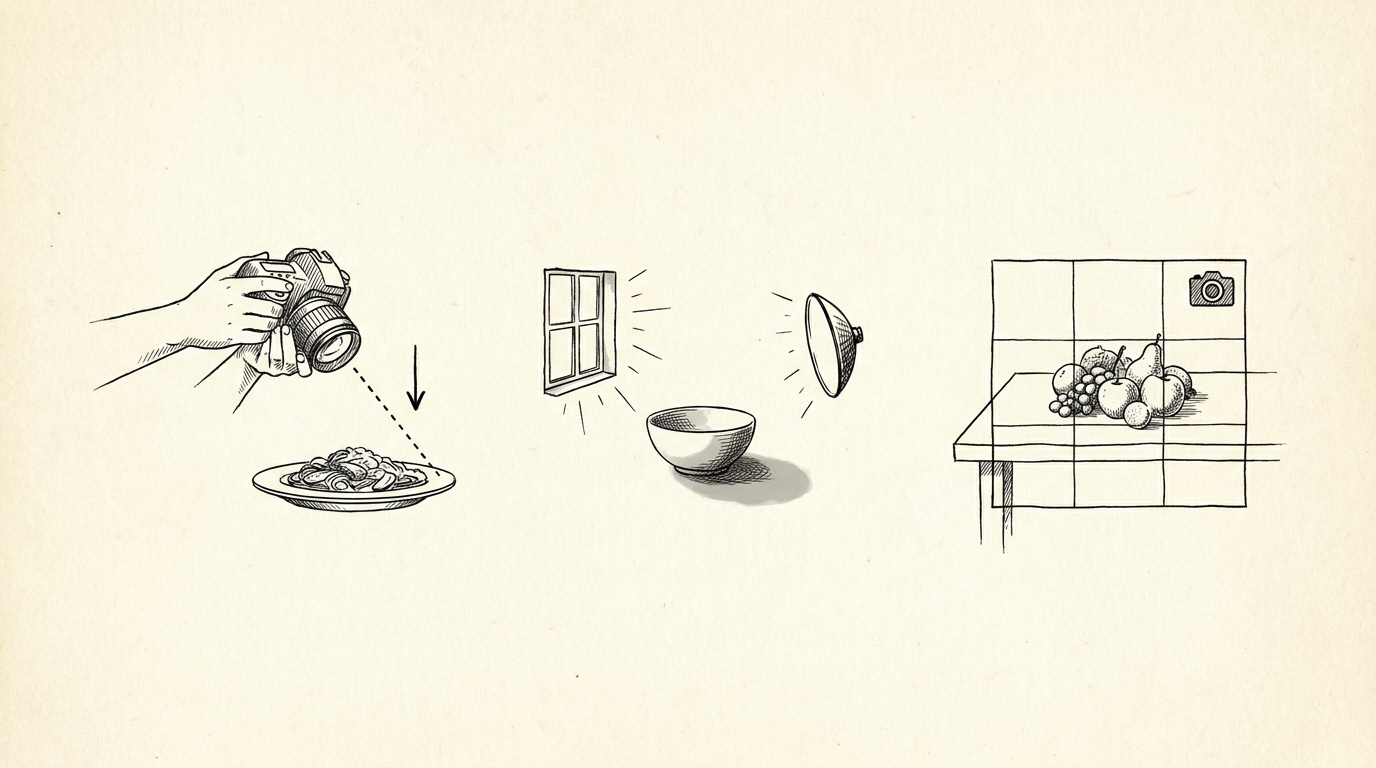
You don’t need a ring light or a camera. Your phone’s default camera is fine. What matters is positioning.
Shoot from directly above or close to it
A top-down angle, roughly 90 degrees from the plate, gives the AI the widest possible view of every ingredient. MacroFactor recommends a top-down angle because it reduces the depth distortion that makes a thick steak look flat or a shallow bowl look deep.
If shooting straight down is awkward, 70 to 80 degrees works almost as well. Anything below 45 degrees starts to hide the far side of the plate and distort portion sizes.
Use natural light when possible
Bright, even light is the goal. A window on a cloudy day is ideal because it produces soft, diffuse light with no harsh shadows. Direct sunlight creates strong shadows that can make one side of the plate look darker and smaller than it is.
Overhead kitchen lighting often casts a yellow or orange tint that shifts the color of foods. Greens can look brown, and proteins can look more cooked than they are. Both affect how the model categorizes what it sees. Cronometer’s photo logging guidance notes that color accuracy helps the recognition step for produce and proteins.
Leave breathing room around the plate
Frame the shot so the entire plate or bowl sits inside the image with a small margin around the edge. A 10 to 15 percent border on all sides is enough. This prevents edge crops that cut off part of a portion and gives the model context about plate size.
Plate size matters more than it seems. A 6-inch side plate and a 12-inch dinner plate look identical in a tight crop. With context around the edge, the AI can use plate diameter as a rough scale reference.
How to add a size reference without making the photo messy
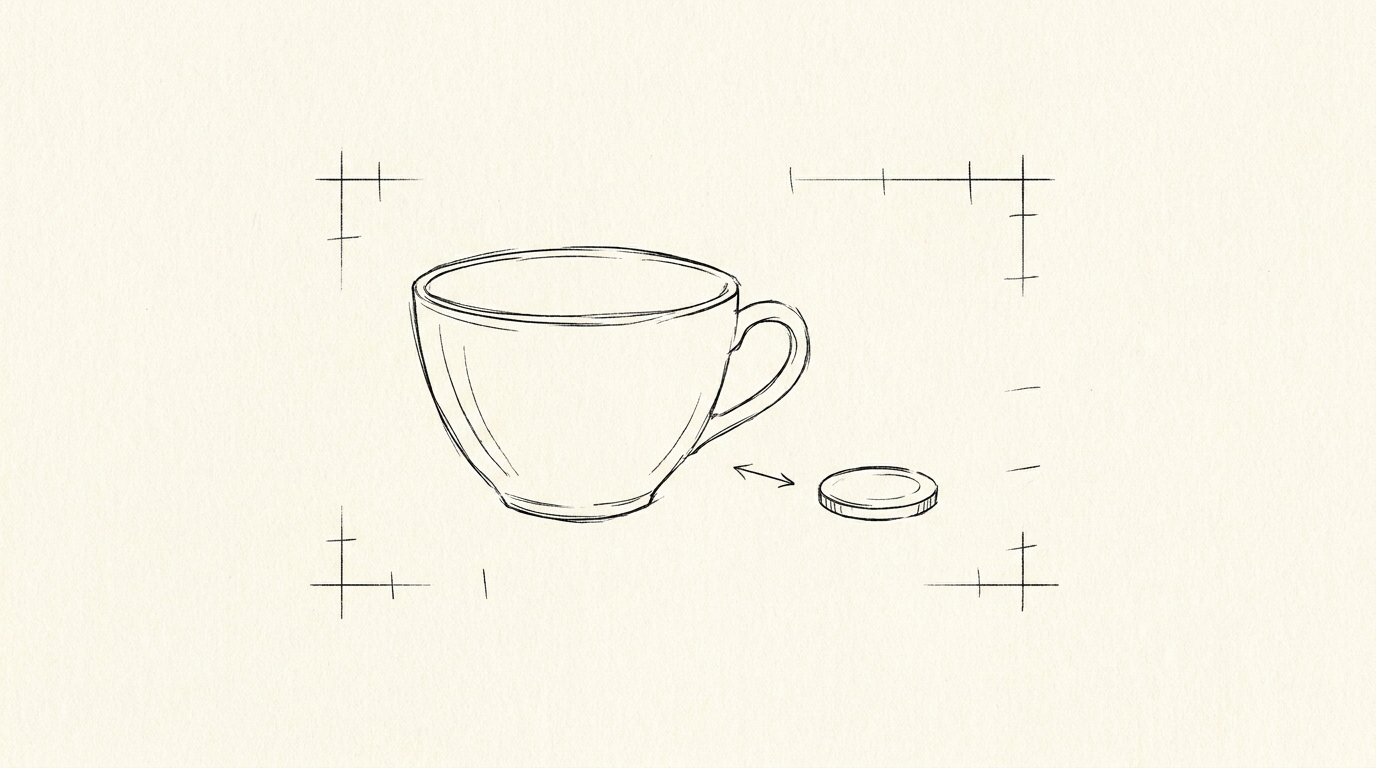
Portion estimation is the hardest part of photo logging. The AI can identify a chicken breast, but it needs a reference point to estimate whether it’s 4 ounces or 8 ounces.
A fork or utensil works well
Place a standard fork or knife at the edge of the plate before shooting. A dinner fork is roughly 7 inches long, which gives the model a consistent reference across meals. Cronometer recommends including a standard household item for scale when logging by photo.
Position the utensil so it doesn’t cover any food. Along the bottom or side of the plate is usually enough. You don’t need to make it prominent, just visible.
A kitchen scale is the most accurate option
When you weigh food before plating, even a rough weight, you can enter that number during the review step to anchor the AI’s estimate. A 150-gram chicken breast logged with a photo and a confirmed weight is far more accurate than a photo alone.
You don’t have to weigh everything. In my experience, weighing the protein once or twice a week and using photo-only for the rest is a reasonable middle ground. It keeps the habit fast without sacrificing too much accuracy.
Your fist is a backup when nothing else is available
Place your closed fist next to the plate before shooting. A typical adult fist is roughly 1 cup in volume, which corresponds to about 240 milliliters. MacroFactor lists a fist or common object as a practical scale reference when a utensil or scale isn’t handy. It’s imprecise, but better than no reference at all.
What to do with mixed dishes, sauces, and hidden ingredients
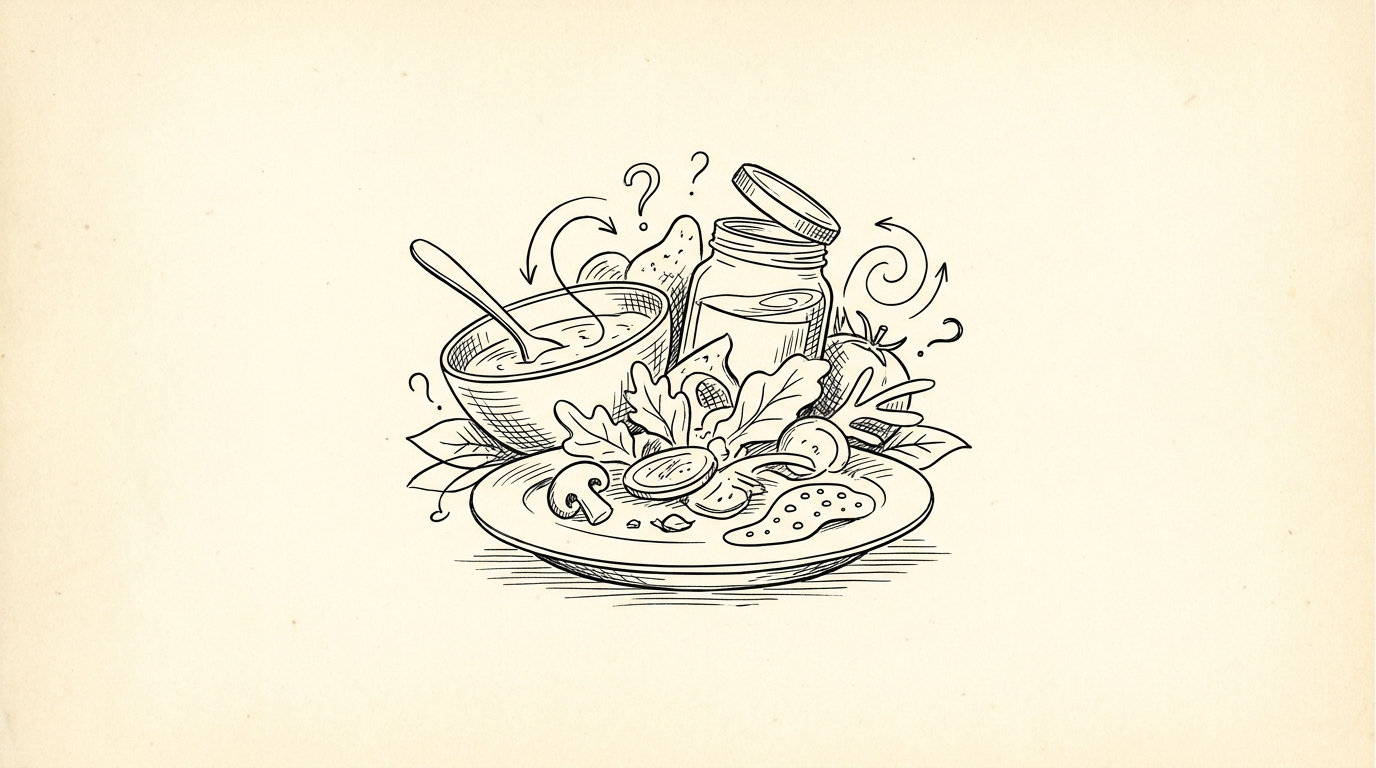
A bowl of pasta primavera is harder to log than a chicken breast with broccoli. The more ingredients blend together, the more the AI has to estimate.
Oils and dressings are the easiest calories to miss
A tablespoon of olive oil adds about 120 calories and 14 grams of fat. A standard restaurant salad dressing portion is often 2 tablespoons, which adds 240 calories before you count a single vegetable. Neither of these shows up clearly in a photo.
When you cook with oil or add a dressing, note it in the app’s text field alongside the photo. Most AI logging tools let you combine a photo with a short description. Use that. Type “2 tbsp olive oil” and let the model add it to the estimate.
Photograph sauce containers and side items separately
If a sauce comes in a small container or packet, photograph that separately or note the brand and quantity. A fast-food dipping sauce packet is typically 1 ounce and can add 80 to 150 calories depending on type. That’s not trivial if you’re tracking within a 200-calorie daily window.
Side dishes that sit in separate bowls or plates should get their own photo or at minimum a text note. Cronometer’s workflow includes a review step for catching ingredients the initial photo missed.
Use the review step before saving
Every leading photo logging tool surfaces a review screen after the initial scan. Don’t skip it. Check the ingredient list against what’s actually on the plate. Add missing items. Adjust portions that look off. This step takes 20 to 30 seconds and improves the final log.
The photo gets the AI close. The review step is where you close the gap between a reasonable estimate and an accurate one.
A simple photo checklist before you log the meal
This is the kind of routine that takes 10 seconds once it’s habit. Run through it before you tap the shutter.
Five things to confirm before shooting
- The full meal is visible in the frame, including any sides or sauces that affect the macro count.
- The lighting is even across the plate, with no strong shadows cutting across any portion of food.
- A scale reference, a fork, utensil, or your fist, is visible somewhere in the frame without blocking food.
- Foods are separated enough that each ingredient reads as a distinct item, not a merged mass.
- The plate has a small margin around it so the model can use plate size as a reference point.
That’s the whole checklist. It’s not a long ritual. It’s a habit that takes about as long as picking up the fork.
A photo that takes 10 seconds to set up correctly saves 3 minutes of manual corrections afterward.
What good and poor photo conditions look like side by side
| Element | Good condition | Poor condition |
|---|---|---|
| Angle | Top-down, 70-90 degrees | Side angle, below 45 degrees |
| Lighting | Bright, even, natural or diffuse | Single overhead bulb, direct sun, dim room |
| Framing | Full plate with 10-15% border | Tight crop, edges cut off |
| Food arrangement | Items separated, layers visible | Stacked, overlapping, hidden under toppings |
| Scale reference | Fork or utensil at plate edge | No reference, or reference blocking food |
| Background | Plain countertop or table | Busy pattern, cluttered surface |
Common plate-photo mistakes that lead to poor macro estimates
Most errors come from the same small set of habits. Knowing them in advance is faster than diagnosing them after a week of off logs.
Overhead glare washes out portion detail
Shooting directly under a bright overhead light often creates a glare spot in the center of the plate. That glare can obscure the food underneath it, making a 200-gram portion look like 100 grams. Move slightly to the side or turn off the overhead light and use a window instead.
Zooming too tight removes context
A tight zoom on a steak looks dramatic. It’s also nearly impossible to estimate accurately. Without a plate edge, a utensil, or any surrounding context, the model has no frame of reference for size. Step back. Fit the whole plate in the frame. Zoom out is almost always the right move for logging.
Hiding food behind toppings
A salad with croutons, cheese, and nuts piled on top looks like a crouton-and-cheese dish. The greens underneath, which might account for 2 to 3 cups of volume, become invisible. Toss the salad before shooting, or move the toppings to the side temporarily. AI calorie tracker comparisons note that ingredient visibility is a core factor in recognition accuracy.
If you can’t see an ingredient clearly in the photo, the AI probably can’t either.
When photo logging is enough and when you should edit manually
Photo logging is a first pass. It’s fast, it’s close, and for most simple meals it’s accurate enough. But some meals need more attention.
Simple meals log well with minimal review
A grilled chicken breast, a cup of rice, and steamed broccoli on a plain plate is close to ideal. Three distinct items, no sauces, clear separation. A good photo of this meal, taken from above in decent light, will produce an estimate worth trusting within a 50 to 75 calorie margin in most apps.
Meal prep containers with known recipes are even easier. If you’ve already logged the recipe, a photo just confirms you’re eating that meal. The macro math is already done.
Restaurant meals and mixed dishes need more review
Restaurant portions vary widely. A pasta dish at one Italian restaurant might be 600 calories; the same dish at another might be 1,100 calories. The AI can identify the dish type but can’t know the chef’s ratios or oil usage. MacroFactor’s documentation on AI food logging is explicit that user review is a required part of the workflow, not an optional step.
For restaurant meals, use the photo to get the ingredient list started, then adjust portions manually based on what you know about the restaurant or the dish.
Manual edits don’t mean starting over
Editing a photo log isn’t a failure of the system. It’s the system working as intended. You add a missing sauce, adjust the chicken from 5 ounces to 7 ounces, and save. That takes 30 seconds. The alternative is a full manual entry from scratch, which takes 3 to 5 minutes.
A corrected photo log is faster than a perfect manual entry. The goal is accuracy, not a clean scan.
Photo logging works best as a starting point you refine, not a final answer you accept blindly. The photo does the heavy lifting. The review step does the finishing work. Together, they’re faster and more consistent than typing every ingredient by hand.
Frequently asked questions
Do I always need to shoot from directly above the plate?
Not always, but it’s the most reliable angle for most meals. Top-down, between 70 and 90 degrees, gives the AI the widest view of all ingredients. For tall foods like a sandwich or a stacked burger, a slight angle at 60 to 70 degrees can show the layers better. The key is that every ingredient should be visible somewhere in the frame. MacroFactor recommends top-down as the default with adjustments for height.
Does a plain white plate work better than a colorful one?
A plain, neutral-colored plate, white, cream, or light gray, makes it easier for the AI to distinguish food from background. High-contrast patterns on a plate can interfere with edge detection, which is how the model separates one food item from another. A plain plate isn’t required, but it does reduce one variable. If your plates are patterned, even lighting matters more.
Can one photo capture an entire mixed meal accurately?
For simple mixed dishes, yes. For complex ones with many ingredients, sauces, or hidden layers, one photo is usually a starting point rather than a complete log. Cronometer’s photo logging workflow recommends adding a text description for hidden ingredients like oils and dressings that don’t appear clearly in the image. One photo plus a short text note is more accurate than a photo alone for most mixed meals.
How much does lighting actually affect the macro estimate?
More than you’d expect. Poor lighting affects both color recognition and size estimation. A chicken breast under a yellow overhead light can read as more cooked or smaller than it is. In my experience, switching from dim overhead lighting to a window or a bright neutral light source is the single change that most improves recognition quality across different meal types.
Should I photograph drinks and snacks separately?
Yes, if they contribute meaningful macros. A glass of whole milk adds about 8 grams of protein and 12 grams of carbohydrates per cup. A handful of almonds adds roughly 6 grams of protein and 14 grams of fat per 1-ounce serving. Neither will appear in a plate photo. Log drinks and snacks as separate entries, either by photo or text, to keep the full macro picture accurate.
The bigger lesson is this: the photo isn’t the log. It’s the raw material. What you do in the 20 seconds after the scan, separating items, noting the olive oil, adjusting the portion, is what turns a rough estimate into a number you can actually use. The camera is just the starting point.
If you want photo-based macro tracking to feel fast instead of frustrating, try PlateBird free and snap your next meal. The app reads the photo, returns a macro breakdown, and lets you adjust anything that looks off before saving, so the log reflects what you actually ate, not just what the camera saw.