- Start with your macro target, not a recipe
- A grocery list that maps to your macros
- The minute-by-minute Sunday workflow
- How to portion containers to hit your macros
- Three meal templates from one prep session
- Storage, food safety, and what to freeze
- How to log your prepped meals without slowing down
- Frequently Asked Questions
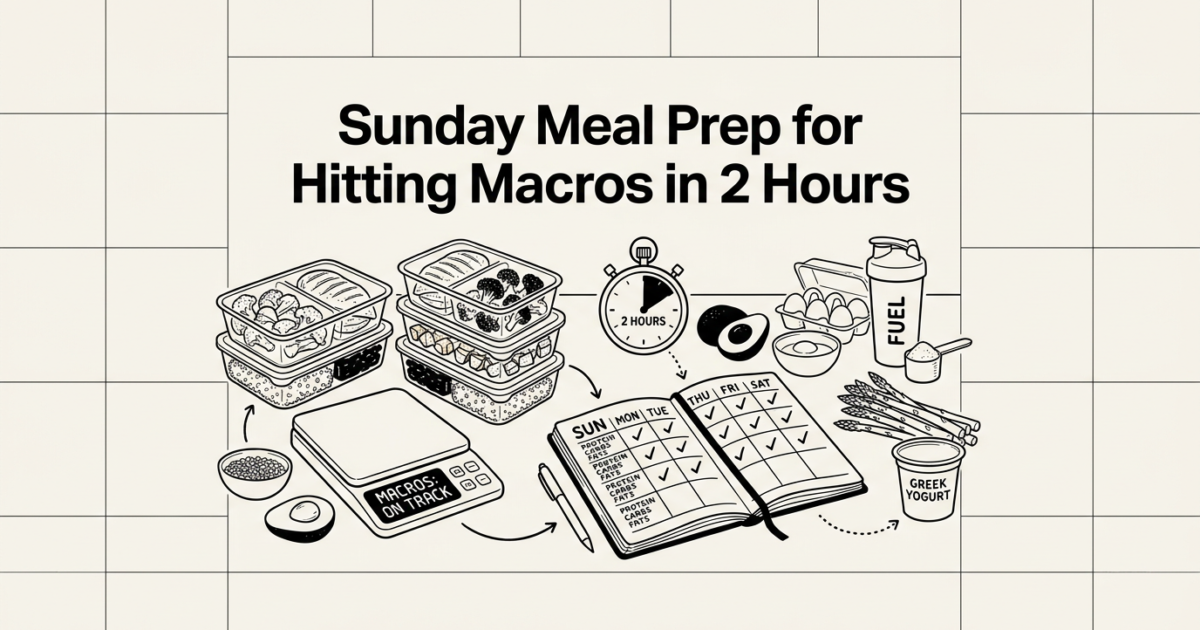
Sunday Meal Prep for Hitting Macros in 2 Hours
You spend Sunday afternoon staring at a fridge full of random ingredients, knowing Monday’s lunch will probably be a sad desk sandwich or a $14 salad you didn’t plan for. You have a macro target. You just don’t have a system that gets you there before the week starts.
The problem isn’t motivation. It’s sequencing. Most meal prep guides hand you recipes without telling you how to run the kitchen like a short-order cook who has exactly 2 hours and zero interest in washing the same pan three times.
Sunday meal prep for hitting macros in 2 hours is less about cooking skill and more about deciding what goes in the oven, on the stove, and on the counter at the same time. This guide gives you a workflow, a portioning formula, and a storage plan that holds up through Friday.
Start with your macro target, not a recipe
Set the numbers before you shop
A prep session without a macro target is just cooking. You need three numbers before you touch a pan: daily calories, daily protein, and a rough carb-to-fat split. If you’re eating 2,200 calories with 180 g protein, 220 g carbs, and 65 g fat, that tells you exactly how much chicken, rice, and olive oil belongs in each container.
If you haven’t set those targets yet, [?internal: how to set your first calorie goal -> How to Set Your First Calorie Goal in PlateBird and Adjust It] is a good starting point before you buy anything.
Choose one protein, one carb base, one vegetable
The fastest prep sessions use a tight ingredient list. One protein source, one starchy carb, one or two vegetables, and one fat source. That’s it. You’re building components, not plating restaurant dishes.
A useful heuristic is: if you can’t describe your prep in one sentence, you’re cooking too many things. “Baked chicken, brown rice, roasted broccoli, and olive oil” is a complete week’s framework.
The fastest meal prep starts with a macro target, not a recipe. Decide what you need to eat before you decide what you want to cook.
Why components beat complete meals
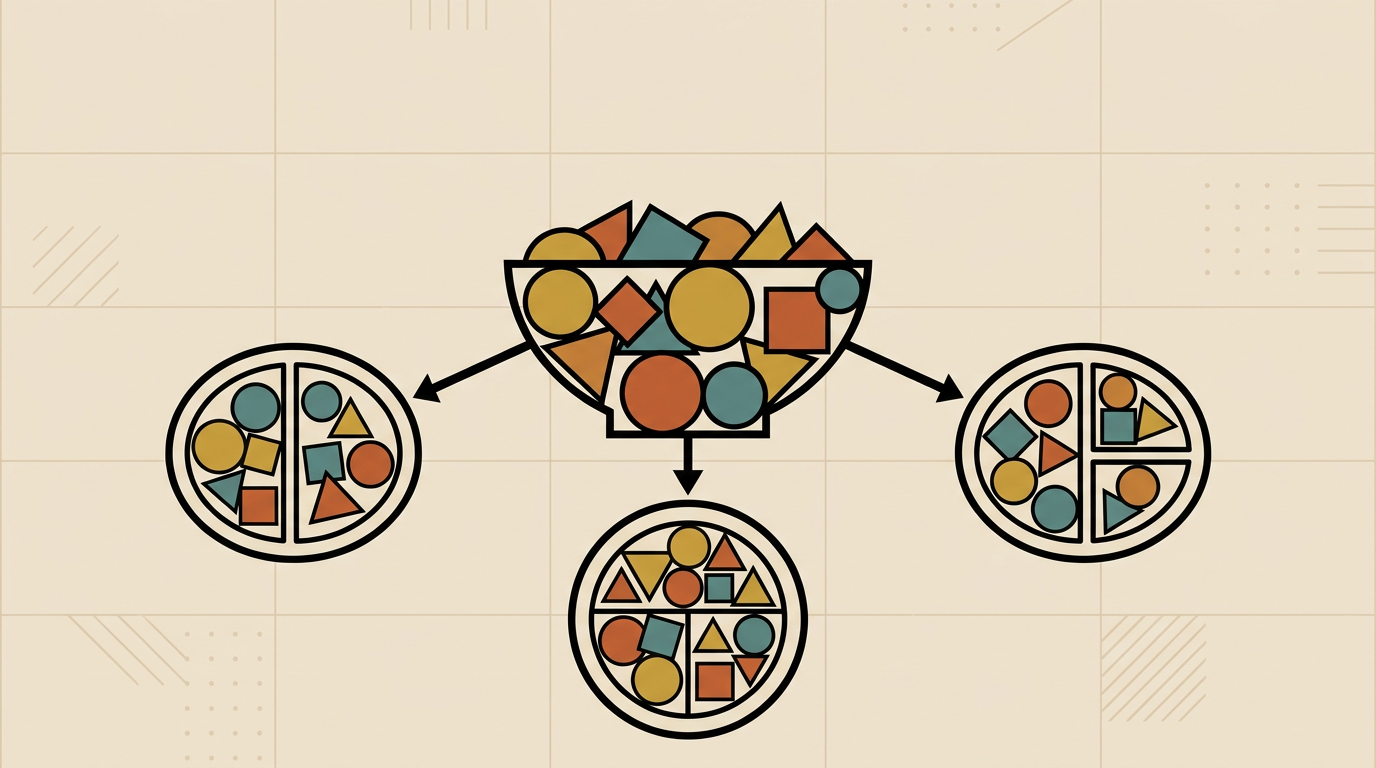
Prepping components instead of finished meals gives you flexibility all week. The same chicken breast works in a bowl on Monday, a wrap on Wednesday, and a plate with potatoes on Thursday. You cook once. You eat three different things.
Complete meals lock you in. Components let you adjust portions when your macro targets shift between a rest day and a training day.
A grocery list that maps to your macros
Proteins that portion cleanly
Chicken breast is the default for a reason. A 4 oz cooked portion delivers 35 g protein and 165 calories with minimal fat. Ground turkey (93% lean) runs 22 g protein per 3 oz cooked. Canned tuna gives you 25 g protein per 3.5 oz with near-zero prep time. Eggs add flexibility at 6 g protein and 70 calories each.
For plant-based options, firm tofu hits 10 g protein per 3.5 oz and absorbs whatever seasoning you use. Cooked lentils add 18 g protein per cup alongside useful fiber.
Carb bases that hold up in the fridge
Brown rice and white rice both refrigerate well and reheat without turning to mush. White rice reheats faster. Brown rice has more fiber. Either works. A 1-cup cooked portion of white rice is 45 g carbs and 205 calories.
Baby potatoes and sweet potatoes roast in 25 minutes and stay good for 4 days in the fridge. A medium sweet potato (5 oz) adds 26 g carbs and 103 calories. Rolled oats handle breakfast duty and take under 5 minutes to batch-cook for the week.
Vegetables and fats that round out the container
Broccoli, zucchini, bell peppers, and green beans all roast well at 400°F in 20 to 25 minutes. They add volume without adding many calories. A 1-cup serving of roasted broccoli runs 55 calories and 4 g fiber.
For fats, olive oil, avocado, and nuts are the most practical. Measure olive oil by the tablespoon. One tablespoon is 120 calories and 14 g fat. That number matters when you’re portioning five containers and oil is your primary fat source.
| Category | Example ingredient | Portion | Protein | Calories |
|---|---|---|---|---|
| Protein | Chicken breast (cooked) | 4 oz | 35 g | 165 kcal |
| Protein | Ground turkey 93% (cooked) | 3 oz | 22 g | 130 kcal |
| Carb | White rice (cooked) | 1 cup | 4 g | 205 kcal |
| Carb | Sweet potato | 5 oz | 2 g | 103 kcal |
| Vegetable | Roasted broccoli | 1 cup | 4 g | 55 kcal |
| Fat | Olive oil | 1 tbsp | 0 g | 120 kcal |
The minute-by-minute Sunday workflow
Minutes 0 to 15: get the oven and water going
Preheat the oven to 400°F. Toss your vegetables and potatoes in oil, season them, and get them on sheet pans. Start a large pot of water for rice or grains. These two tasks run in parallel and require almost no active attention once they’re going.
This athlete meal prep breakdown shows that starting oven and water tasks simultaneously is the single biggest time-saver in a 2-hour session. Everything else fits in the gaps.
Minutes 15 to 45: cook protein on the stovetop
While the oven runs, season and cook your protein. Chicken breast in a skillet takes 6 to 7 minutes per side over medium-high heat. Ground turkey browns in 10 to 12 minutes. If you’re baking chicken instead, add it to the oven at the 15-minute mark so it finishes around the same time as the vegetables.
Add rice to the now-boiling water. White rice takes 18 minutes. Brown rice takes 35 to 40 minutes. If you’re using brown rice, start it earlier, around the 5-minute mark, so it finishes on time.
Two-hour prep is mostly sequencing, not speed cooking. The oven runs while the stove runs and the counter handles assembly.
Minutes 45 to 75: pull, rest, and prep snacks
Pull vegetables and potatoes from the oven. Let protein rest for 5 minutes before slicing. While things cool, batch-prep any breakfast or snack items. Hard-boil 6 to 8 eggs in a separate pot (12 minutes), or portion Greek yogurt into small containers. These take almost no active effort while the main items cool.
Minutes 75 to 120: portion, containerize, and store
Use a kitchen scale. Weigh each protein portion, measure each carb serving by cup or gram, and add vegetables to fill the remaining container space. Drizzle or measure fat. Seal containers only after food has cooled below room temperature. Warm food sealed in containers traps steam and speeds spoilage.
This weekend prep guide notes that the portioning step is where most people lose time because they eyeball instead of measure. A kitchen scale costs under $15 and removes the guesswork.

How to portion containers to hit your macros
The container formula
Build each container around a fixed protein target first. If your daily protein goal is 160 g and you’re eating 4 meals, each container needs 40 g protein. That’s roughly 4.5 oz of cooked chicken breast. Protein stays constant. Carbs and fats adjust based on the day’s calorie target.
For a 500-calorie lunch container: 4 oz chicken (165 kcal), 3/4 cup rice (155 kcal), 1 cup roasted broccoli (55 kcal), 1 tsp olive oil (40 kcal). That’s 415 calories with 38 g protein. Add a second teaspoon of oil or a small handful of nuts to reach 500.
Adjusting for cutting, maintenance, or bulking days
The same prep serves three different calorie targets if you change the carb and fat portions. On a cutting day, drop the rice portion from 3/4 cup to 1/2 cup and skip the added oil. On a bulking day, add a full cup of rice and an extra tablespoon of olive oil or a quarter of an avocado.
Protein stays steady at 35 to 40 g per container. Carbs and fats do the adjusting. That’s the whole system. For more on how macro splits work across different goals, [?internal: macro splits explained -> 40/30/30 Macros Explained: How They Compare to Other Common Ratios] covers the math in detail.
Protein stays steady; carbs and fats do the adjusting. One prep session can serve a cutting day, a maintenance day, and a training day without extra cooking.
Three meal templates from one prep session
The bowl
Rice on the bottom, sliced chicken on top, roasted broccoli on the side, a drizzle of sesame oil or soy sauce. This is the default format and takes 90 seconds to assemble from your prepped components. Total time from fridge to eating: under 3 minutes.
The wrap
Take a large whole-wheat tortilla (150 calories, 28 g carbs), fill it with diced chicken, half a cup of rice, and roasted peppers. Skip the extra oil since the tortilla adds carbs. This format works well for lunch at a desk because it’s contained and portable. The macro profile shifts: more carbs, same protein, less fat.
The plate meal
Swap rice for roasted sweet potato. Add a side of Greek yogurt (plain, 0% fat, 3/4 cup gives 18 g protein and 100 calories) as a secondary protein source. This format works better for dinner when you have a plate and a few extra minutes. It also changes the flavor profile enough to feel like a different meal.
Variety comes from sauces, spice blends, and assembly order. Not from new recipes. A batch of chicken tastes different with harissa, different with lemon and herbs, and different with a tablespoon of peanut sauce. The components don’t change. The experience does.
Storage, food safety, and what to freeze
Cool before you seal
Hot food sealed in airtight containers creates condensation inside the lid. That moisture speeds bacterial growth and softens textures that should stay firm. Let cooked food cool on the counter for no more than 2 hours before refrigerating. Spread it on a sheet pan to speed cooling if you’re in a hurry.
This practical meal prep habit guide points out that the cooling step is where most Sunday prep goes wrong. People seal hot containers, stack them in the fridge, and wonder why the food tastes off by Wednesday.
What goes in the fridge versus the freezer
Cooked chicken, rice, and roasted vegetables stay safe in the fridge for 4 days. Eat Monday through Thursday from the fridge. Anything meant for Friday or the following week goes in the freezer on Sunday. Cooked chicken freezes well for up to 3 months. Rice freezes well too. Roasted vegetables lose texture in the freezer but remain safe to eat.
- Fridge meals (days 1 to 4): cooked chicken, rice, roasted broccoli, hard-boiled eggs, Greek yogurt.
- Freezer meals (day 5 and beyond): cooked chicken portions, cooked rice in zip-lock bags, cooked ground turkey.
- Do not freeze: roasted leafy greens, avocado, cucumber, or any sauce with a dairy base.
- Label every container with the date it was made. A permanent marker takes 3 seconds and saves you from guessing on Thursday.
Container choices matter
Glass containers with locking lids hold up better than plastic in the microwave and don’t absorb odors. A set of 10 glass meal prep containers runs $25 to $35 and lasts years. The trade-off: they’re heavier to carry. Plastic containers work fine for the freezer and for packing a bag, but skip thin single-use containers that warp when reheated.
How to log your prepped meals without slowing down
Log the template once, reuse it all week
The biggest advantage of component-based prep is that your meals repeat. If Monday’s lunch is 4 oz chicken, 3/4 cup rice, and 1 cup broccoli, that same entry applies Tuesday and Wednesday without re-entering anything. Log it once on Sunday when the portions are fresh in your mind, then duplicate it for each day you plan to eat it.
This is where photo-based or text-based logging pays off. Instead of hunting through a database for each ingredient, you describe the meal in plain language or snap a photo of the container. Real-world meal prep trackers on Reddit flag the logging step as the point where people abandon their systems midweek. Reducing that friction matters.
If the meal is repeatable, tracking becomes repeatable too. Log the template once and let the system do the repetition.
Adjust the log when portions change
On a high-calorie training day, you add a half cup of rice to the container. That’s one small edit to the existing log entry, not a new entry from scratch. On a rest day, you pull the oil. Same edit. The template stays mostly intact and the adjustments take under 30 seconds.
PlateBird handles this by letting you describe the meal in text or photograph the container. It calculates the macros without manual database entry, which means the logging step on a busy Tuesday morning takes seconds rather than minutes. You might also find our guide on How PlateBird Helps Home Workout Enthusiasts Tr… helpful.
Connect prep to weekday adherence
The prep session is only useful if you actually eat the food you made. Adherence drops when logging feels like a second job. A system where you photograph your prepped container and get an instant macro breakdown removes the main reason people skip logging on tired weekday evenings.
If you’re tracking macros while also managing restaurant meals mid-week, [?internal: how to track macros when eating out -> How to Eat Out and Still Hit Your Macros Without Manual Logging] covers that gap without requiring you to rebuild your whole system.
Frequently Asked Questions
How many meals should I prep on Sunday?
A useful starting point is 4 to 5 lunches and 3 to 4 dinners. That covers the highest-friction meals of the week without over-committing to food that might go stale. Breakfasts are easier to handle with quick options like oats or eggs, so they don’t always need full prep. Start with lunches and add dinners once the system feels routine.
How long does prepped food actually last in the fridge?
Cooked chicken and ground turkey stay safe for 4 days refrigerated. Cooked rice lasts 4 to 5 days. Roasted vegetables hold well for 3 to 4 days before texture degrades noticeably. Hard-boiled eggs keep for up to 7 days in the shell. If Friday’s meal looks uncertain, freeze it on Sunday rather than hoping it holds.
Should I prep every macro or just focus on protein?
In my experience, prepping protein first solves the hardest part of hitting daily macro targets. Carbs and fats are easier to adjust on the fly with portion changes. That said, prepping your carb base alongside protein removes the temptation to grab a quick refined-carb substitute when you’re hungry and tired. Prep both if you can. Protein alone is better than nothing.
What if my schedule changes midweek and I can’t eat the prepped meals?
Move anything you won’t eat within the next 24 hours into the freezer immediately. Don’t wait until it’s been in the fridge for 3 days. Frozen prepped meals reheat well for most proteins and grains. The texture of vegetables suffers, but the macros remain intact. A flexible system beats a perfect plan that falls apart on Wednesday.
Can one prep session work for both cutting and bulking goals?
Yes. The same components serve both goals when you change the portion sizes rather than the ingredients. Keep protein constant at your target per meal. Reduce the carb base and skip added fats on cutting days. Increase both on bulking days. The prep doesn’t change. The assembly does. For a deeper look at how macro splits differ between goals, [?internal: bulking macros -> Bulking Made Easy: How to Hit Your Macros for Muscle Gain: How to Hit Your Macros for Muscle Gain] walks through the numbers.
A Sunday prep session is only as useful as the system you build around it. When the containers are portioned and labeled, the week’s hardest nutrition decisions are already made. The only thing left is eating the food and knowing what’s in it. If you want that logging step to take seconds instead of minutes, try PlateBird free by photographing one of your prepped containers. It reads the meal, calculates the macros, and saves the template so every repeat meal through the week logs itself.